From your first dish to a guest menu
Start with one dish and follow the six steps below. Then add more dishes and invite your staff when you are ready.
Your first guest menu
Start with one dish
Follow the illustrated guide at your own pace or play all six steps automatically. It takes about 42 seconds and has no sound. You do not need to complete your whole menu first.
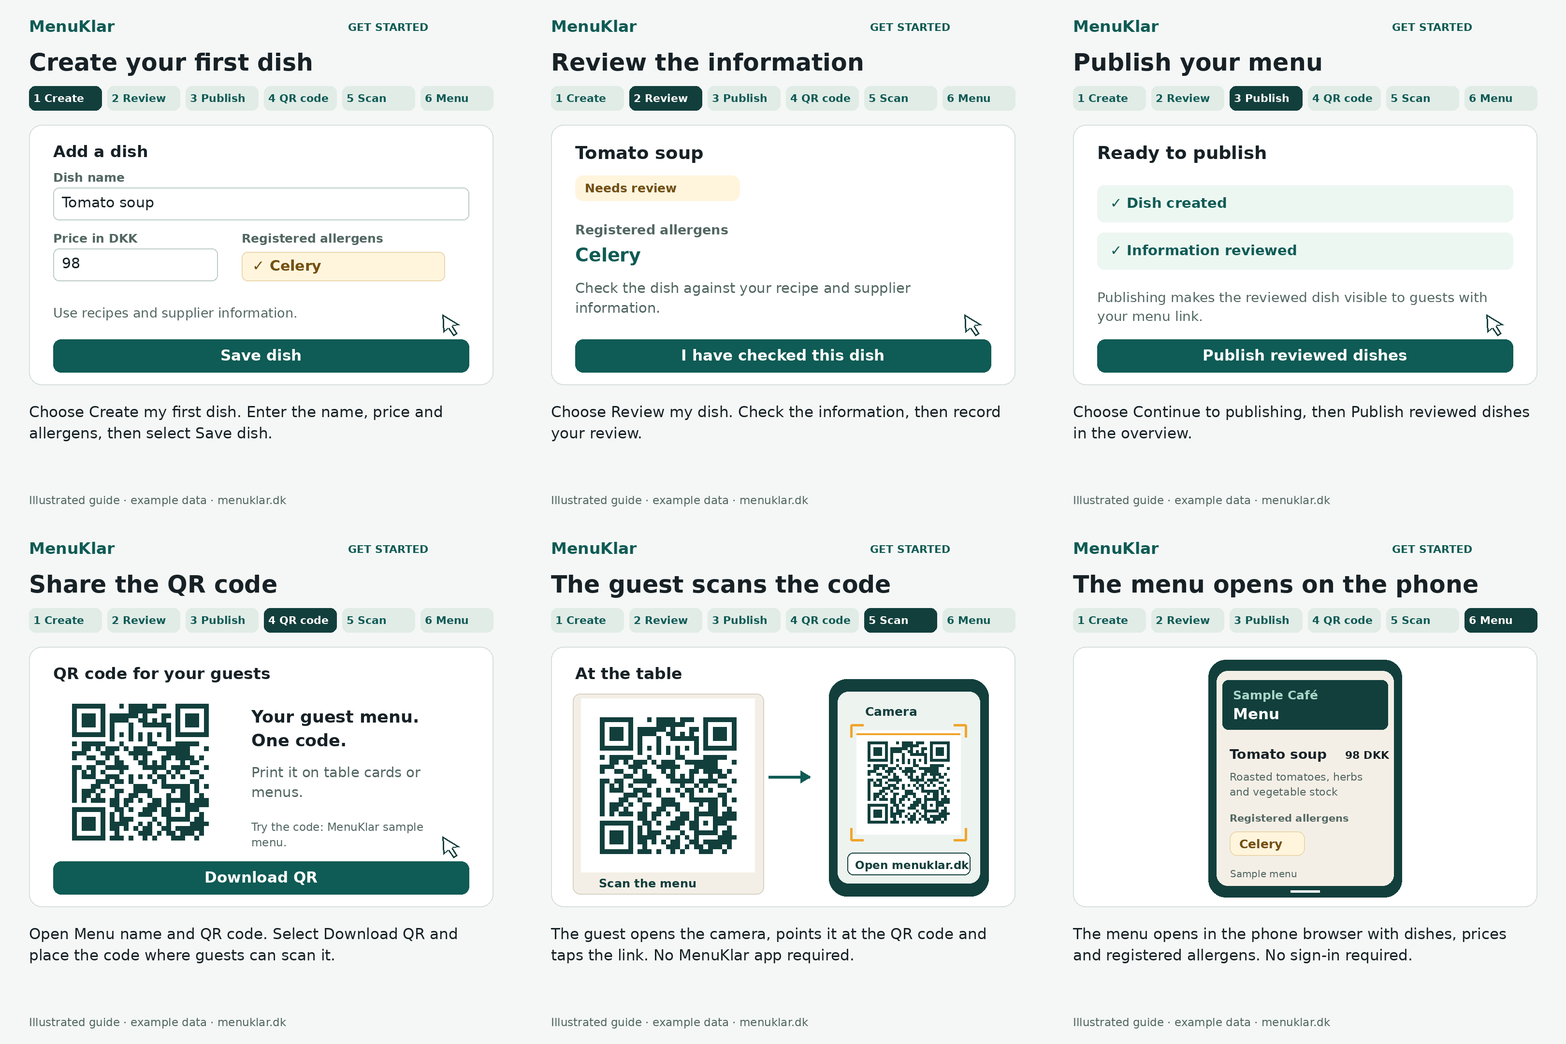
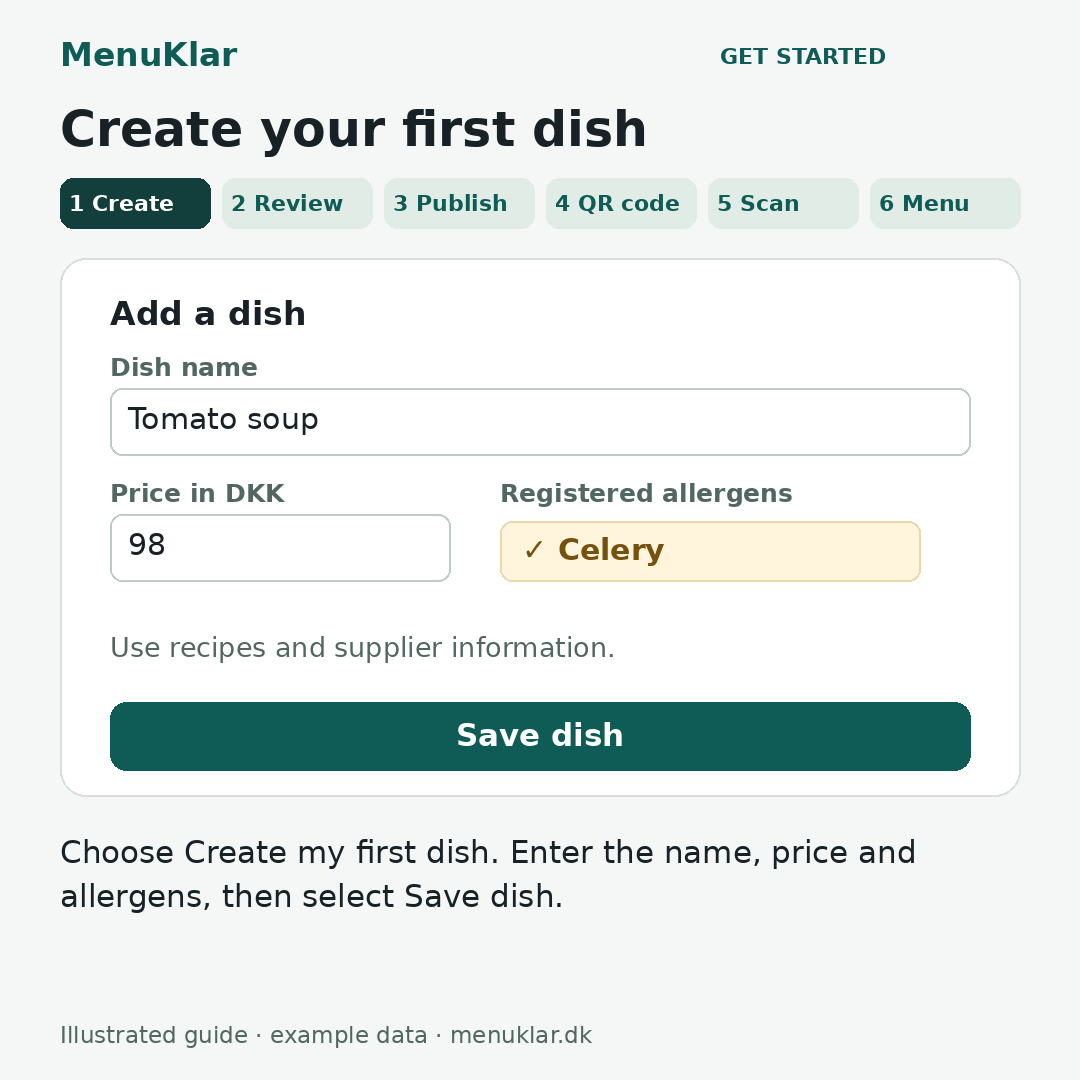
After changing a dish or a linked ingredient, review the information and publish again. Add reusable ingredients when you are ready to build on your first dish.
For managers
- Create your account. Choose Create manager account, then enter your email, name and a password of at least 12 characters. Save your recovery code safely. If you already have menus through Google, sign in with Google and add a password under Staff and sign-in rather than creating another account.
- Prepare your menu. Add dishes, prices and allergen information in the workspace. Check against recipes, ingredients and supplier information. Choose Review my dish, record your review and select Continue to publishing. Publish from the overview and open your guest menu. Find the QR code under Menu name and QR code. New free accounts include 5 active dishes; older accounts retain their 10-dish limit.
- Invite your staff. Open Staff and sign-in. Enter the staff member's name and email and create an invitation link. Copy and send it directly to them. No invitation is sent automatically. The link is valid for 7 days and can be used once.
- Try the view together. Staff choose a password through their invitation. Open the staff view on their phone and check that published dishes are available. Staff can read the menu but cannot edit dishes, invite others or manage payments.
- Keep access current. Remove access when someone leaves, which also ends existing sessions. If staff forget a password, create a new invitation for the same email. They can choose a new password through it; you do not need to know it.
When ingredients or recipes change, review the information again. Publish the checked menu and ask staff to refresh their view. The manager's subscription covers the business menu; staff do not need separate subscriptions.
Customise your guest menu with Pro
Open Settings and find the appearance section. Upload a PNG or JPG logo up to 1 MB. Choose header and background colours and a classic list or cards. The preview uses sample dishes. Save the design and open the guest menu to see your own dishes. Logos save immediately. The address and QR code stay the same.
For staff
- Use your manager's invitation. Open the link, enter the invited email and choose a personal password of at least 12 characters. Do not create a manager account.
- Sign in before your shift. Open menuklar.dk/en/login and use your email and password. You will reach Menu at the table. Bookmark menuklar.dk/en/personale on your phone. Everyone can sign in on their own device at the same time.
- Find the dish at the table. Search for a dish or ingredient. You can also filter dishes by a recorded allergen. Read the allergens and linked ingredients with your guest.
- Check uncertainties with the kitchen. A missing allergen label does not guarantee a dish is free of that allergen. Discuss needs, preparation and traces with the kitchen. Ask the manager to correct errors; staff cannot change information.
- Refresh and sign out. Refresh the page if the menu changes. Sign out after using a shared device. If you forget your password, ask your manager for a new invitation link.
Guests do not need to sign in
Guests open the published menu using its QR code. Personal staff access is for work at the table.